In early 2013, I decided that I wanted to try refinishing a piece of furniture. I've watched HGTV enough and got a case of "want-itis" that last year was the year to finally act!
The only problem was that I didn't own a piece of furniture that I was ready to repaint...nor did I want to ruin a piece.
Our church opened a high-end charity store to benefit children and families in crisis in the Palm Beach County area called Treasures of Hope in early 2013. I purposed to call and talk with someone about refinishing a piece of furniture that had come in and was unfortunately unsellable, sand it and repaint it, then bring it back to the store for resale. This was a great way for me to try my hand at something new without having to purchase a piece of furniture. It benefited children and families. And it was okay if I failed. Neither party had money in the piece. The point was that I was trying.
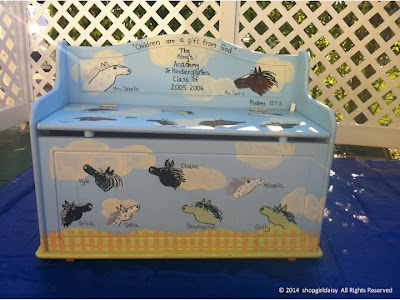
The store agreed and a few weeks later I received a call about a little chest that needed some TLC. It's former home was in an elementary teacher's classroom. It had many layers of paint and took some muscle power to sand.
 |
| Here's the front of the chest in it's original state. |
 |
| Here's the back of the chest in it's original state. |

I sanded down the chest which took hours due to the layers of paint.
Then I used Behr Self-Priming Interior Flat Snow Fall paint in matte and dry brushed it on.
Unfortunately, I lost photos on this project!! Darn it!!
But the next step was to dry brush a second layer of Behr Self-Priming Interior Semi-Gloss Enamel Seafoam Pearl paint on it. And that was it!
 | |
| Here's my chest sitting in the furniture store! Exciting! Unfortunately, no photo of the front! :( |
HAPPY DIY-ING!
No comments:
Post a Comment